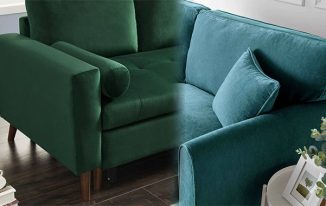
The addition of a bold, bright color can add instant style to any room. Whether you have an old armoire or dresser that you want to update, painting the piece is a quick and easy way to give it new life. This project will take just one day from start to finish, so grab your paintbrush and let’s get started!
What You’ll Need
- Paint. You’ll need at least one can of paint, but you may want to buy two or three if you’re planning on doing more than one piece of furniture.
- Paint brushes. You’ll need a few different sizes and shapes, depending on what kind of job you’re doing (trim work requires smaller brushes). If possible, choose natural-bristle brushes; they hold up better over time than synthetic ones do and are easier to clean up after use.
- Painter’s tape. This is optional but highly recommended–it will make your life much easier when it comes time for cleanup!
Step 1
Before you begin, you’ll want to make sure that the surface of your furniture is prepared for painting. First, remove any loose or peeling pieces of veneer with a scraper. Then sand down any rough spots on the wood as well as any stains or scuffs from wear and tear.
Next, clean off all dust and debris with a damp rag so that it doesn’t interfere with adhesion when priming later on. Once this is done, apply primer over all surfaces–this will help provide an even base coat when applying paint later on in step 3 below!
Step 2
Step 2: Paint the Furniture
Using a foam roller, apply the paint to all sides of your furniture. It’s important to do this in one direction so that you don’t get streaks in your final product. If you’re having trouble getting into tricky areas with a brush, feel free to use an old rag or paper towel instead! Make sure that you cover everything with plastic sheeting before beginning so as not to get any paint on floors or other surfaces in your home (especially if there are children around). Finally, make sure that any drips are caught by using a drop cloth underneath each piece being painted; otherwise they could ruin what would otherwise be an excellent job!
Step 3
- Paint the entire piece of furniture.
- Use a roller to apply the paint. This is best for large areas or if you’re not going to be able to get into all of those nooks and crannies with a brush or sponge. It’s also easier to control than using a brush, which can leave streaks behind as it moves across uneven surfaces like wood grain or crevices in antique furniture pieces made from different materials that have been glued together over time.
- Use brushes for smaller areas and detailed work on corners and edges where rolling would leave gaps in coverage due to their round shape rather than flat surface area like with rollers (which are more rectangular). Brushes are great for getting into corners where rollers won’t fit at all!
Step 4
Step 4: Let the paint dry. The drying time will vary depending on the type of paint and how thickly you applied it, but it’s best to leave your furniture alone until it’s completely dry. You can speed up this process by placing an oscillating fan on low in front of the piece for several hours; this will help speed up evaporation and also spread out any fumes from the paint.
After letting your chair sit overnight (or however long it takes), dust off any excess dried-on bits with a clean rag or paper towel. If you find that there are still some stubborn spots after wiping them down with water, try using Goo Gone instead–this product works wonders at removing residual gunk from old furniture!
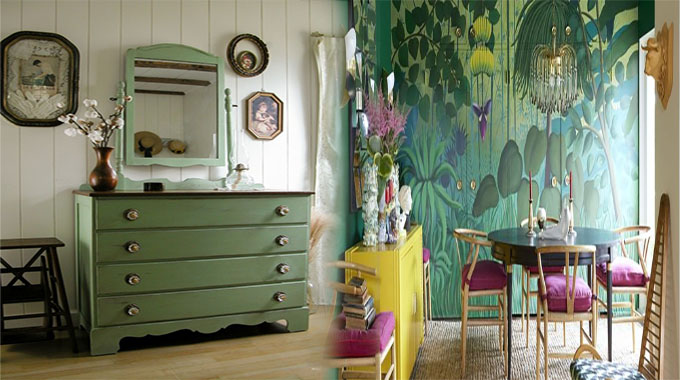
You can paint antique furniture with bold colors to revitalize it.
If you want to revitalize an antique piece of furniture, paint it in a bold color. You can use any paint that is safe for the piece of furniture and apply it with a brush or roller. If you have an old dresser with knobs missing, painting it green will make it look new again!
Paint is one of the easiest ways to give your old furniture a new look. It’s also a great way to add color to your home without spending too much money. We hope you enjoyed this tutorial and found it helpful!